Showing posts with label conversion. Show all posts

Friday, January 20, 2023

Champion & Musician for Skeleton Spearmen Unit

Last few weeks there's been a lot going on in my life and I wasn't able to find time for the hobby. However, I did manage to paint the champion and musician for my skeleton spearmen unit. For the champion I converted armored skeletons standard bearer. I simply cut off the hand which was holding the banner pole and replaced it with one holding the sword. The musician is an old model from 1993.

warhammer skeletons

Thursday, December 2, 2021

Mortreich's Black Knights WIP pt.3

warhammer black knights

For my Black Knights standard bearer I wanted to use the classic skeleton horseman (I believe from 1993.) which I had sitting in my collection for quite some time. After some thinking I gathered the bits I needed for the project. For the hand holding the banner pole I used the one from the 90's Black Knights Command group blister. Flag is from the Death Upgrade Kit from Games Workshop.

On the horseman I had to cut off the arm, and on the banner pole the blade and the scull. I also had to remove all the rivets from the pole. Once I removed all unwanted parts I assembled the model. I left the banner unglued so I can paint the model easier. 

warhammer aos black knights

The new arm fitted perfectly onto the body. I didn't even have to use the modelling putty. Once I had it assembled it was time to bring him to un-life with some colors. :)

After I finished painting I realized that the banner is causing the model not to fit into the unit. I resolved this by heating the lower part of the banner (since it is made in resin) with a hairdryer and banding it backwards. This way not only was I able to fit the bearer into the unit, but also the flag looks more natural, like it is waving against the wind. With the Standard Bearer done, the first rank of my massive unit of black knights is completed! 

💀💀💀💀💀💀💀💀

I think that the whole unit of 24 knights will be really a sight to see! ðŸ§›

Saturday, December 12, 2020

Armored Skeletons

Lately I've been working on my Armored Skeletons. So far the unit is 25 strong. I plan to go up to 50. I am really pleased with how the unit is turning out, especially the shields! If you are interested in how I made these unique shields, check out the following post: Converting Kite Shields.

armored skeletons
armored skeletons
armored skeletons
armored skeletons
armored skeletons
armored skeletons

Converting Kite Shields

armored skeletons
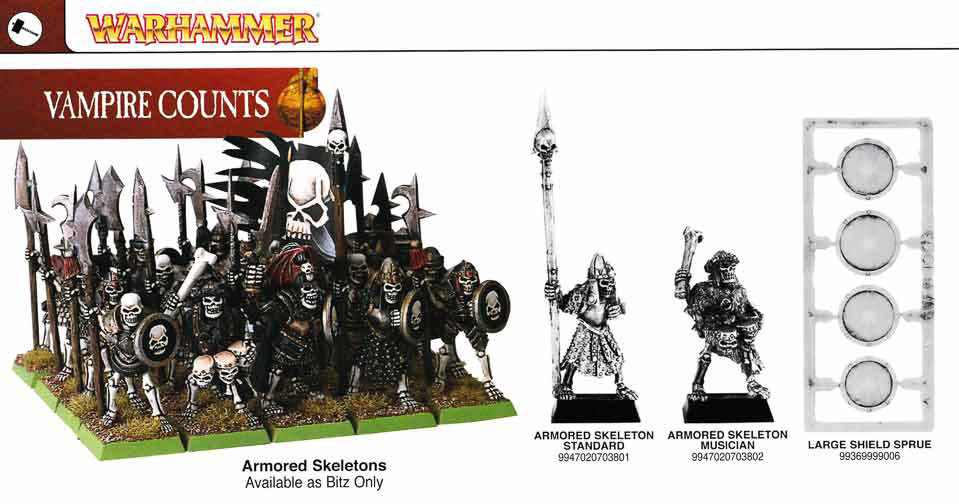
For my OOP Armored Skeletons I wanted to create special shields and make the unit really stand out. The original ones are small rounded shields with decorations that look a bit childish to me, although, I must admit, totally in the spirit of the 90s Warhammer Fantasy Battles. :)
Looking at the miniatures I thought that the kite shields would fit them perfectly and make them look striking. It then came to me that the Tomb Kings tower shields that I have laying around could be converted into cool looking kite(ish) shields.
Since I don't have the plastic ones, but only metal, I decided to make molds in silicone rubber and cast the shields in resin. This way I will save the original shields and make the converting process easier. You can use plastic ones if you have them. I decided to use three different designs.
After I made my recasts in resin it was time to start cutting and shaving unwanted parts of the original design. Parts that I cut off are marked with red color, and those that I shaved off are marked in green. To get that V shape I simply cut off the lower parts of the shield. I removed those hanging parchments on the front side of the shields. On the back I removed the handles and over-leaping canvas.
Next, it was time to carve in the wood-grain in the parts that got flat after shaving. For this I used a sharp scalpel blade.
Now the shields were ready for some modeling putty. I used Green Stuff to model the metal rim on the edges of the shields and the circle (gluing area) on the back side.
Finally, after the Green Stuff has hardened completely, I added rivets to the rims on both sides.
To save some time, I again made the mold for the converted shields and multiplied them. :)
And here you can see the shields in action:
armored skeletons
armored skeletons
armored skeletons
armored skeletons