Sunday, December 27, 2020

Hiram's Lost Legion

warhammer skeletons

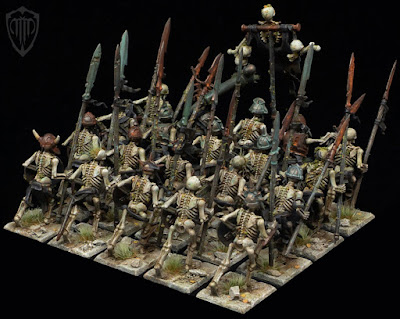
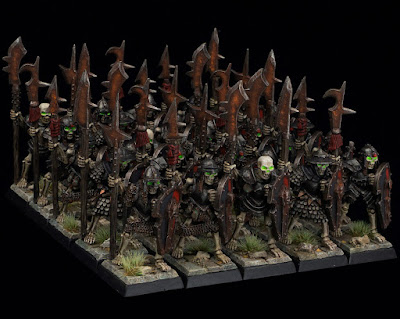
Back in the old days it wasn't easy to gather large units of extremely skillful, experienced and disciplined warriors, unconditionally loyal to its leader and faithful to the cause. One of those leaders who succeeded to gain upmost respect and loyalty from his fellow warriors was Hiram Von Todtstein, a mighty king who commanded an elite unit of warriors known as the 1st. Hiram's Volunteer Division or Hiram’s Legion. Members of this Legion were ready to shed their blood for bellowed king, who was at the same time their comrade in battle. Division was known for its stubbornness and relentlessness and was one of the most renowned throughout the Old World. Hiram’s Division was usually deployed were toughest fighting was going on in order to "extinguish the flames" in shortest time possible. 

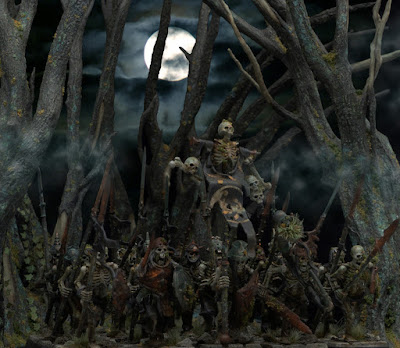
On one cold morning, the Legion was sent to the Cursed Marshes with task to annihilate the Skaven horde which had strongholds and secret hideouts in this area from which they continuously raided the nearby city of Marienburg, capital of Wastelands, and other surrounding human settlements. Why was the Legion sent on this mission alone, and in secrecy, remains a mystery. What we do know is that upon entering the Cursed Marshes, Legion was never to be seen again. Seems that their foe, the Skaven horde, also fled the area, never to infest it again. Tales were told of daemonic swamp dwellers, ancient demons that were somehow part of the marsh itself, of strange mists and abominations staring from the swampy abyss. However destiny of the 1st. Division together with the Skaven horde became a thing of the past and legend, up until the recent days. 

Hiram, returning to his new (un)life knew very well where to head first, for he never forgot his faithful and fearful legion. And thus, risen from the eerie swamp, the legion marches once again, only this time under a darker banner… 

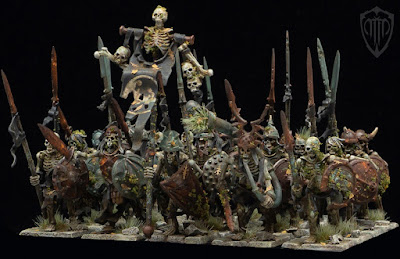
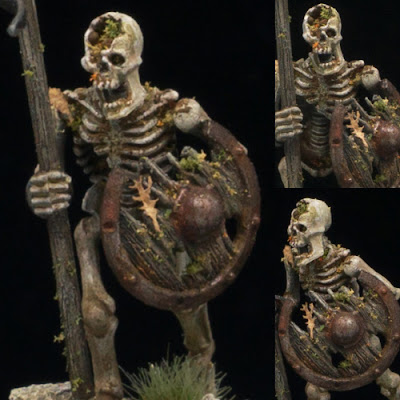
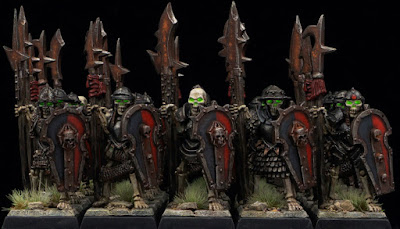
I really had a blast making this unit. Currently it is just 20 man strong but I definitely plan to add more ranks to it. Hopefully I'll reach 50 with time. I wanted these skeletons to look like they were freshly risen from the ground, with all the dirt, lichen, moss, grass and other vegetation growing on them. Accordingly, I made their weapons and armour really ragged and rusty. The whole process was a bit time-consuming because after painting I had to add the pigments for rust and dirt and also various flock, static grass, leaves, etc, but I think it was worth it. The miniatures are Games Workshop Deathrattle Skeleton Warriors.

warhammer skeletons
warhammer skeletons
warhammer skeletons
warhammer skeletons
warhammer skeletons
warhammer skeletons
warhammer skeletons
warhammer skeletons
And here are some photos of the individual skeleton warriors:
warhammer skeletons
warhammer skeletons
warhammer skeletons
warhammer skeletons
warhammer skeletons
warhammer skeletons
warhammer skeletons
warhammer skeletons
warhammer skeletons
warhammer skeletons
warhammer skeletons
warhammer skeletons
warhammer skeletons
warhammer skeletons
warhammer skeletons
warhammer skeletons
warhammer skeletons

Saturday, December 19, 2020

Kardak Khan

 Kain wasted no time with the gathering of the troops. Commanders and powerful undead individuals were summoned to serve as captains in the upcoming war. In many areas of the old world, graveyards had the so-called "sinners ground" – a part of the graveyard dedicated to murderers, thieves and other villains who lie in unmarked graves, condemned forever to oblivion.
Once buried there, there was no turning back. Or so they claimed...
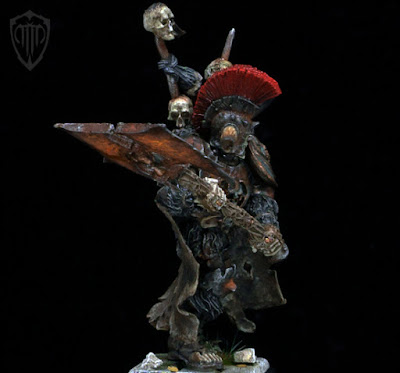
Upon entering one such site, Kain felt the strong negative energy and was drawn to a special unmarked location, a mass grave in form of a catacomb. Endless corridors filled with corpses led to the deepest point where Kain discovered a corpse in heavily damaged full body armor. These where the remains of Kardak Khan, a cruel and merciless killer. A mercenary and a sadist who killed in the most horrifying ways – women and children, young and old, all was fair game. For profit or for sport, it mattered not. This perverted individual was obsessed with pain and suffering of others. When he was finally caught and brought to justice his torturers had a special treatment in store for him, for some of them were relatives and family members of his victims. After torturing him for days they strapped on his armor and dragged him to the local town square for public stoning. Full body armor allowed stoning to last for hours until Kardak was crushed both physically and spiritually. It is said that his last words to his torturers were a promise of vengeance and return.

Krell

Kain didn't hesitate for a moment and raised a perfect captain for his growing army – one among many to follow, and thus, after so many centuries, Kardak kept his promise. After all, evil calls upon evil.
Fear the return!!!

warhammer krell

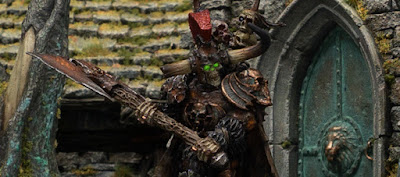
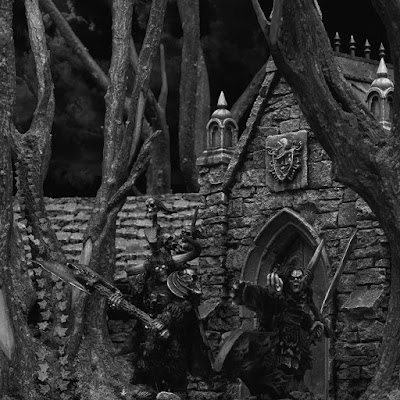
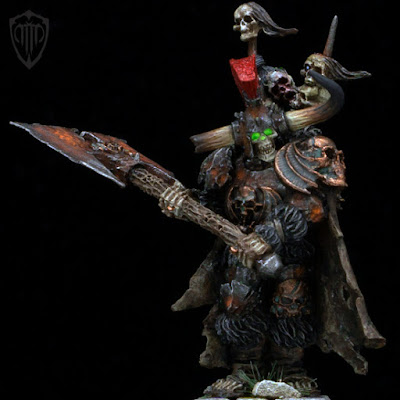
For Kardak I used Krell of the Great Axe, Lord of Undeath by Games Workshop. This is one of my favorite GW sculpts from the newer era. It was a real joy painting this mini. Lots of different metal textures allowed me to experiment with various pigments and washes to achieve rusted metal and oxidized bronze. Green glowing eyes and read on his helmet break the monotony of dark colors that dominate the model.

Krell
Krell
Krell
Krell
Krell
Krell
Krell

Sunday, December 13, 2020

Roadside Shrine

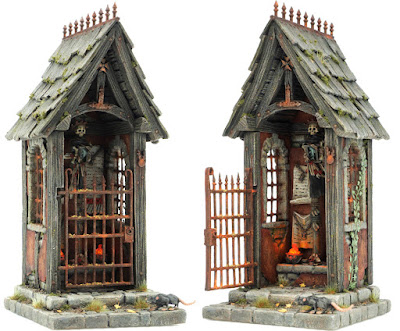
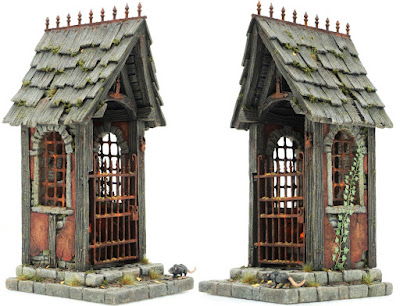
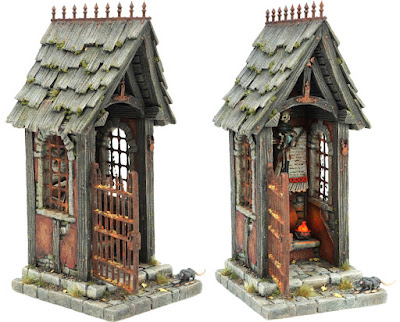
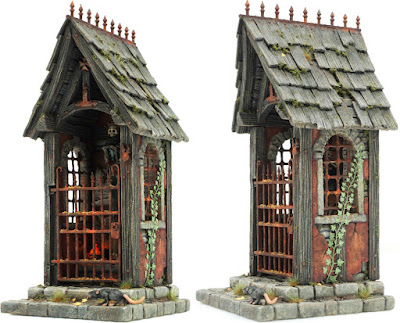
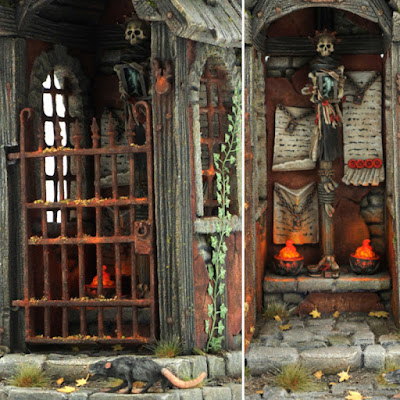
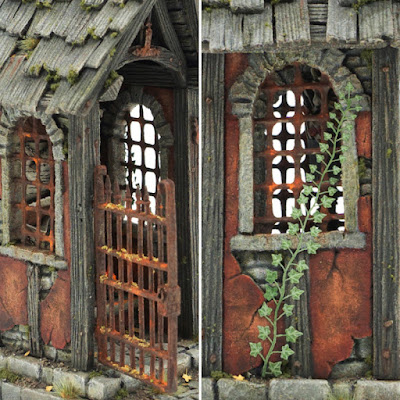
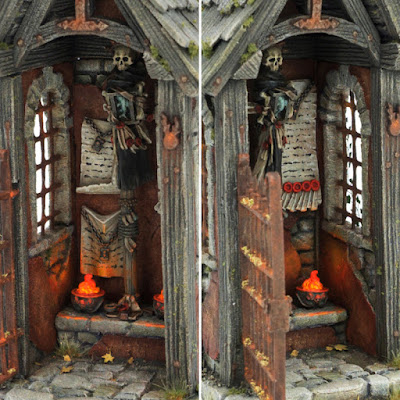
For my second project in XPS foam I wanted to do something smaller and packed with details. Roadside shrine came to mind! I thought it would make a perfect addition to my Mordheim gaming table. And it did! :) In the area were I live there are lots of small roadside shrines so I didn't lack the inspiration. I took from each one what I liked the most and combined it in my own design. The idea was to create a small structure with barred windows on the sides and iron bar gate in the front. The shrine would hold an icon, some parchments with sacred text and two torches.

For the window bars I used a cheap plastic garden fence that I bought in the local hardware store. Gate and spikes are from an old Tabletop World Graveyard kit. Icon is from old Empire Steam Tank (I think), torches are from Vampire Counts Black Coach and parchments are from Warhammer 40k Fyodor Karamazov.

After I have finished the build I sealed everything with watered down PVA glue. Once this was dry I hit everything with black basecoat color. For me, basecaoting scratch built terrain in uniform color is perhaps the most satisfying moment in the hobby. :)

Now it was time to bring the piece to life with some colors. I'm happy with the way it turned out, especially the choice of colors. I also added a rat to the base to make it look more grim. The only thing I dislike is the climbing ivy. This was the first time I was using it. I should have washed it with some brown color and bend some of the leaves to make it look more natural. All in all I'm really pleased with the final result.

mordheim terrain
mordheim terrain
mordheim terrain
mordheim terrain
mordheim terrain
mordheim terrain
mordheim terrain
mordheim terrain

Saturday, December 12, 2020

Armored Skeletons

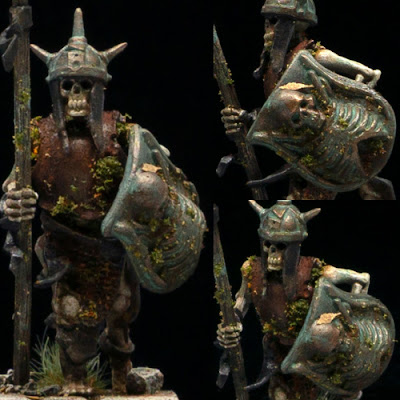
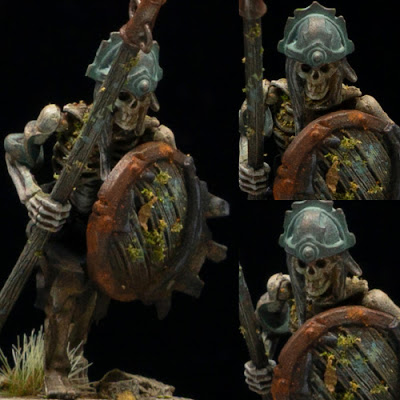
Lately I've been working on my Armored Skeletons. So far the unit is 25 strong. I plan to go up to 50. I am really pleased with how the unit is turning out, especially the shields! If you are interested in how I made these unique shields, check out the following post: Converting Kite Shields.

armored skeletons
armored skeletons
armored skeletons
armored skeletons
armored skeletons
armored skeletons

Converting Kite Shields

armored skeletons
For my OOP Armored Skeletons I wanted to create special shields and make the unit really stand out. The original ones are small rounded shields with decorations that look a bit childish to me, although, I must admit, totally in the spirit of the 90s Warhammer Fantasy Battles. :)
Looking at the miniatures I thought that the kite shields would fit them perfectly and make them look striking. It then came to me that the Tomb Kings tower shields that I have laying around could be converted into cool looking kite(ish) shields.
Since I don't have the plastic ones, but only metal, I decided to make molds in silicone rubber and cast the shields in resin. This way I will save the original shields and make the converting process easier. You can use plastic ones if you have them. I decided to use three different designs.
After I made my recasts in resin it was time to start cutting and shaving unwanted parts of the original design. Parts that I cut off are marked with red color, and those that I shaved off are marked in green. To get that V shape I simply cut off the lower parts of the shield. I removed those hanging parchments on the front side of the shields. On the back I removed the handles and over-leaping canvas.
Next, it was time to carve in the wood-grain in the parts that got flat after shaving. For this I used a sharp scalpel blade.
Now the shields were ready for some modeling putty. I used Green Stuff to model the metal rim on the edges of the shields and the circle (gluing area) on the back side.
Finally, after the Green Stuff has hardened completely, I added rivets to the rims on both sides.
To save some time, I again made the mold for the converted shields and multiplied them. :)
And here you can see the shields in action:
armored skeletons
armored skeletons
armored skeletons
armored skeletons