Saturday, December 12, 2020
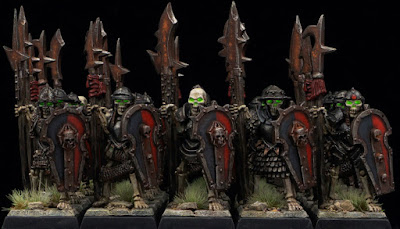
Converting Kite Shields
Sunday, December 6, 2020
Flagstone Bases
In this tutorial I am going to show you how I make the flagstone bases for my miniatures, easy and cheap. All you need is your bases, thin sheet of XPS foam, PVA glue, ball pen and an old brush. In this example I am going to do the 25mm square bases but I use the same method for bases of all sizes and shapes.
BUILDING THE BASES
First thing you need to do is clean all of the bases from the excess flesh formed in the casting process. Since you are going to use bases as rulers for cutting the foam, you don't want to bump into unwanted lumps of plastic.
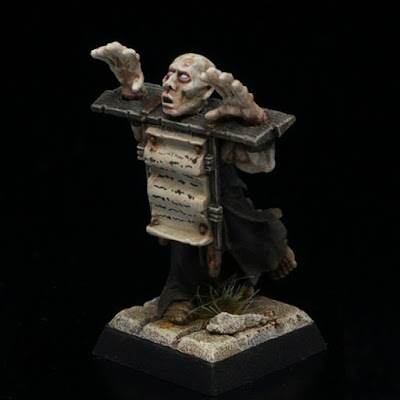
Here are some examples of the miniatures based using this technique:
Sunday, November 29, 2020
Corpse Cart
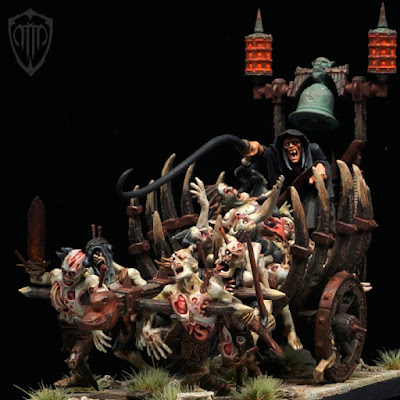
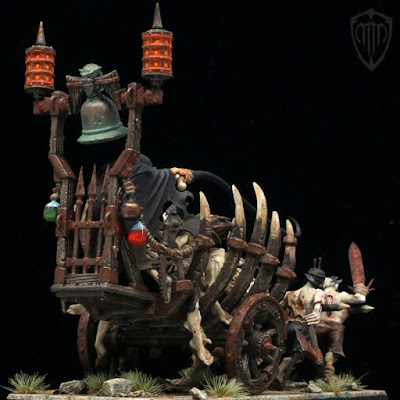
After some struggling, I finally managed to take decent photos of my finished Corpse Cart. I'm quite happy with the result. Usually I always paint the skin of my vampires and necromancers in pale colors, but this time I decided to paint necromancer's skin in more lively colors (he is human after all :) ) to make him stand out more from the corpses and zombies.
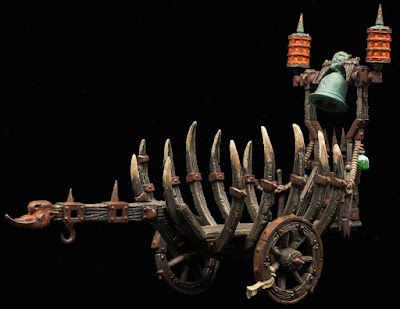
As much as I enjoyed painting this model, I don't want to do another one. I think it would be a drag to go through the same long process again. However I do plan to add another Corpse Cart to my army but I am going to use Chariot of the Harvester model from Gamezone Miniatures. I think it's a really cool model and will complement my army nicely.
 |
| Chariot of the Harvester |
OK, so here are the photos of the finished model. Now we need to give this necromancer a name and a background story. :)
Sunday, November 22, 2020
Tabletop World Monument
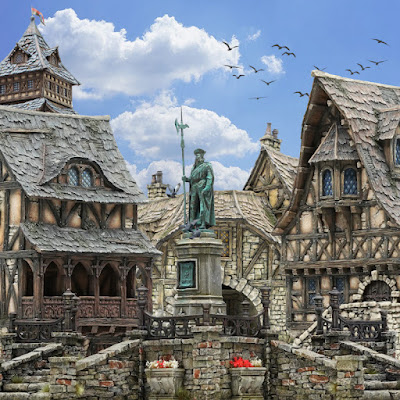
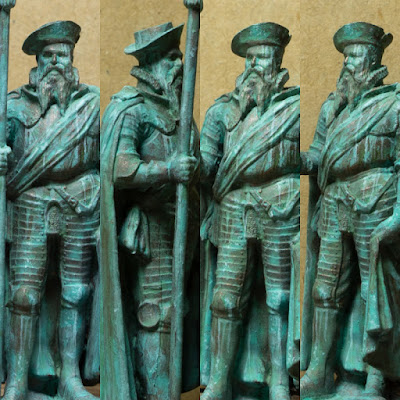
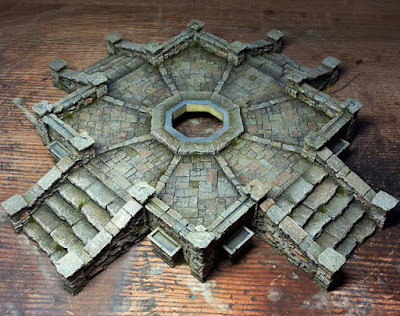
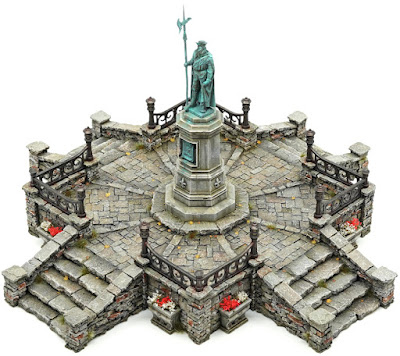
On Tuesday I began with a crazy task.I had to paint Tabletop World's latest release, the Monument in only 4 days so it can been presented to the public and ready for sale on weekend. I had my doubts about meeting the schedule. After many cups of coffee and few brushes destroyed I am proud to say I did manage to make it! :) While I was familiar with most of things on the model and from experience knew very well how I am going to paint it, like stone and iron, I had my concerns about oxidized bronze. I knew that I will pull it out in the end, but didn't know how long will it take because I had to experiment. I did paint some small bits of bronze in the past but never something prominent as the statue that is in the middle of this model. Since it is a center piece I decided spend some time and study the real life examples. After few hours of experimenting with various tones of green, turquoise and white on bronze basecoat, I did manage to get the effect I wanted. I think that the verdigris turned out pretty realistic.
Finally I had to fill the flower and sparingly add some grass tufts in the cracks, between the stones. I also used some enamel paints to create rust streaks from the fences on to the stone walls. I was little bit concerned about the flowers. I was using Green Stuff World flower tufts and the colors of those are so bright and intensive, almost fluorescent. I was worried that it will be to distractive and become the focal point instead of the model itself. To avoid this, I used predominately white flowers and some red ones. I didn't use orange, purple and yellow.
In the end I think that the Monument turned out pretty cool. Here are some final shots:
Wednesday, November 18, 2020
Grom the Paunch
In October a guy named Phil AKA oldmanpaints on Instagram announced the Old Orcs Painting Competition to celebrate oRctober. I have never participated in a painting competition before, but I always wanted to, so this seamed as a great opportunity. Other then that, it's been a long time since I've painted an Orc and this was a great excuse to take out, strip the old paint and start working on one of my favorite old school greenskin models - Grom the Paunch! This legendary gobo has such a cool background story and the sculpt is so full of character. Originally he is riding a wolf chariot with his loyal night goblin standard bearer Niblet, but I decided to paint only Grom. I really had a blast painting him. Since his skin is green I decide to use red and orange for his pants and other details to achieve maximum contrast. Also it was a must to include those old school patterns on his chainmail and axe. All in all it was a nice experience. The competition was very strong and there were many awesome entries. In the end I didn't win a prize but non the less it was lots of fun. :)
Friday, October 30, 2020
Hiram Von Todtstein
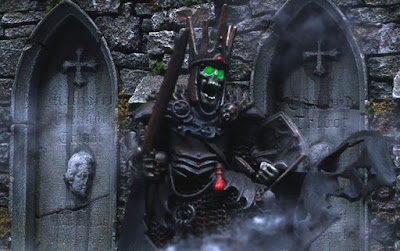
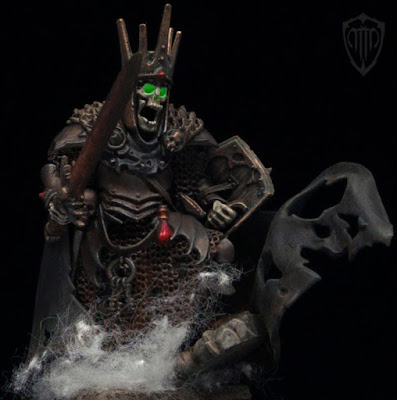
Although I am a huge fan of the classic, Games Workshop, metal Wight models sculpted by Gary Morley in the early 90s, I also really like the current plastic Wight King model. The sculpt is really awesome and the pose is very dynamic. The King is standing with one leg on a tombstone and his robe is flaunting on wind. I used a cotton ball to create the effect of fog spreading around him. I'm pretty pleased how it turned out.
Saturday, October 10, 2020
Mausoleum
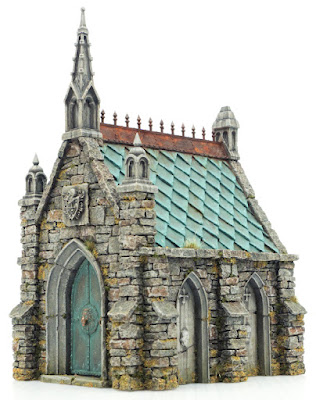
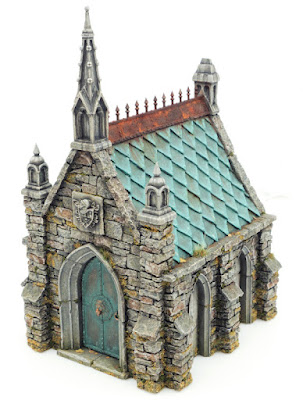
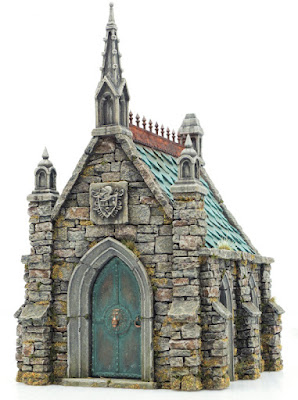
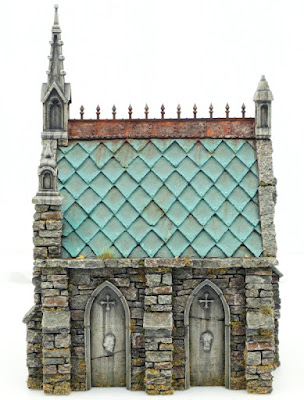
Another Tabletop World piece that I painted for the Graveyard kickstarter which should launch by the end of this month. I really love the model and I painted it in the same style as the chapel. Without further ado, here are the photos :)
Sunday, October 4, 2020
Corpse Cart WIP pt. 2
Moving on with my corpse cart... I have finished painting the cart holding the bodies. I wanted to make it look worn out and weathered. Prior painting I used a scalpel to carve in the wood grain into the wooden parts to make them look more realistic. I also used Mig rust pigments on all metals and coverd all of the vials on the back with a layer of clear water effect from Vallejo to make them shine and give them glass effect. Once I finished painting the cart, placing the corpses inside was a real nightmare! I barely managed to squeeze them in, using force. In the process the paint got pealed off on some of the hanging limbs. I would definitely recommend gluing the corpse pile on the wooden bottom of the cart prior gluing the poles that are sticking out. Necromancer and zombies left to do.


